- Students register for a MEFA Pathway account.
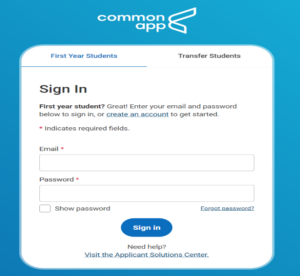
- Create a Common App account.
- Make sure to use the same email address for both accounts.
- Make sure all information is accurate before saving.
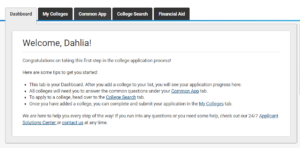
- Under the Common App tab on the Education page, complete the first section, which includes high school information.
- On the College Search tab, search for and add at least one college.
- On the My Colleges tab, you will see all the colleges you have added listed on the left side of the page.
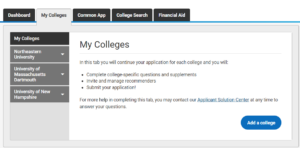
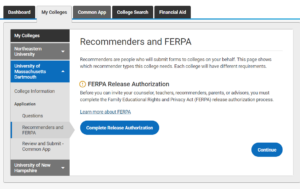
Click on any of the colleges on the list, then click Recommenders and FERPA, complete the FERPA Release Authorization. This only needs to be done once.
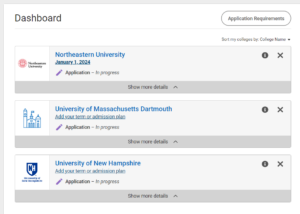
Go to the Dashboard tab and for each college, click on Add your term or admission plan and fill in the appropriate information – this is IMPORTANT!
In MEFA Pathway, on the My College Applications page, students will see the Connect Accounts button.

Click the Connect Accounts button, which will bring you to the Common App login page. Type in your username and password and check the terms and conditions box.
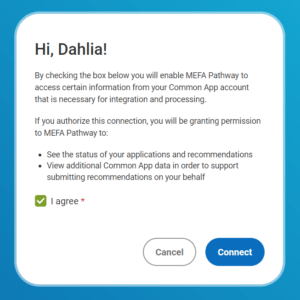
You will then be redirected back to MEFA Pathway. Important: Do not refresh the page while it is loading and wait for the “Success!” message to appear.
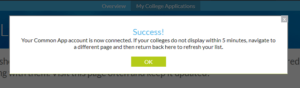
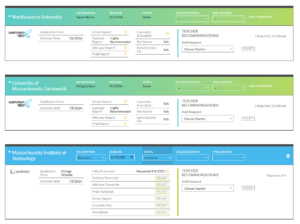
On the My College Applications page in MEFA Pathway, you will see the colleges you have added in the Common App and will need to add any non-Common App colleges where you are applying. Here you can view all of the information related to each college application in one place (form, term, deadline, transcript information, recommendations, etc.).